Today was the day that the Miata would get new inner and outer tie rods. I had the car in for an alignment at a local shop a few weeks ago and they said the car needed them and quoted me almost $700 for the job. My first thought was "how hard could this be?" I started my research as I normally do - scouring YouTube for reference videos. With those in hand, I called up my father-in-law to see if he was up for the job. He gave me his standard "this sounds like fun" response and off we went.
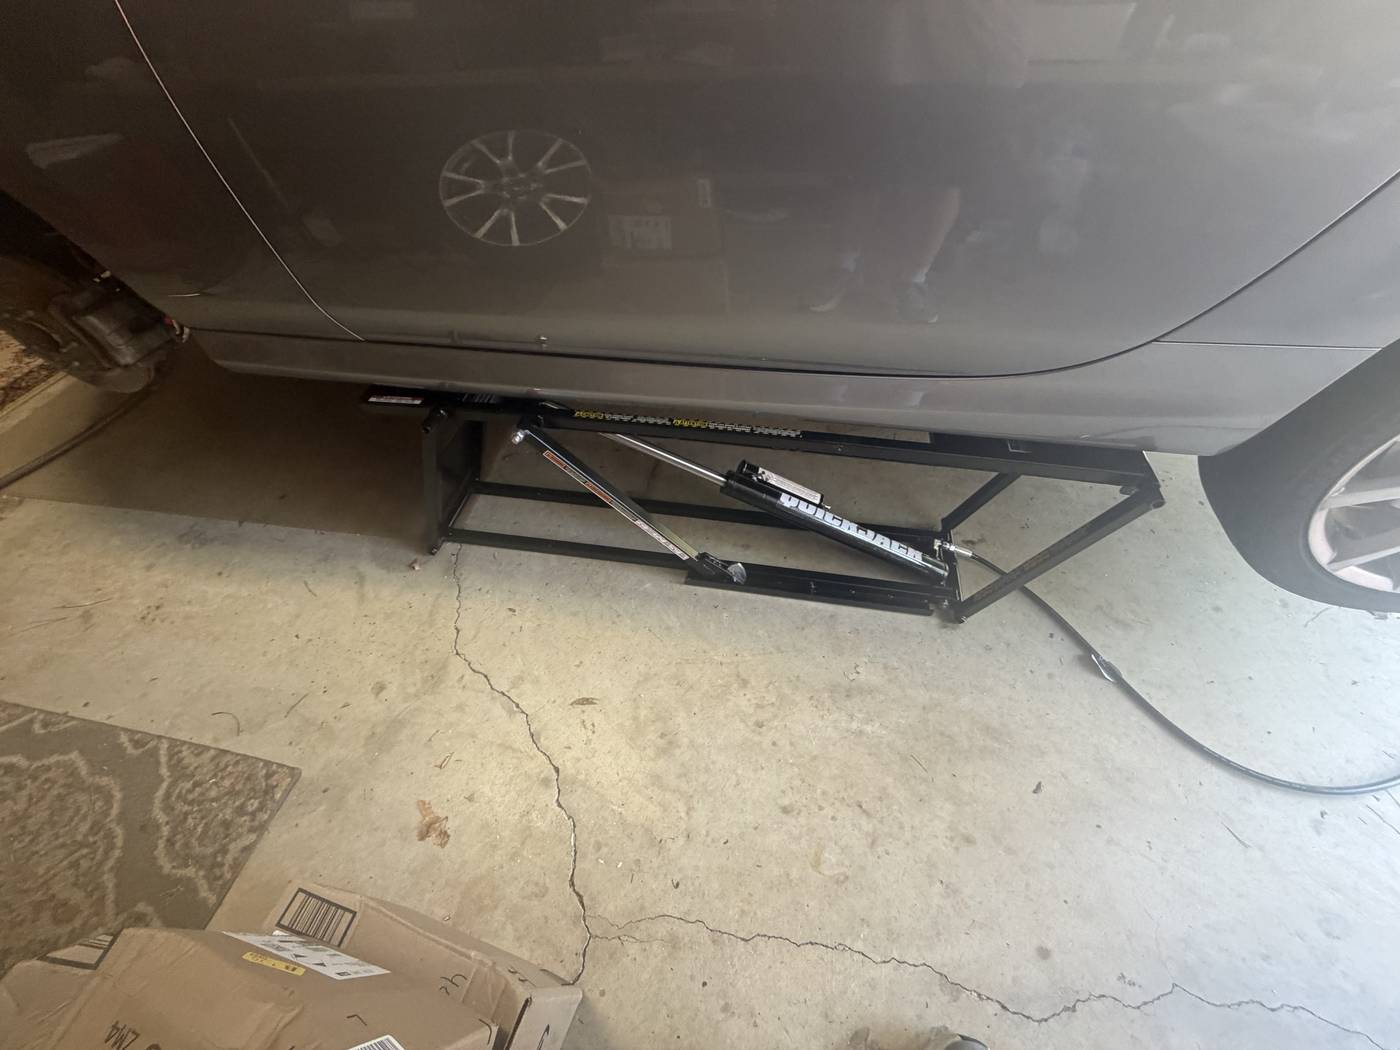
He's had a QuickJack 6000TLX for a while but they're too long for the Miata which left us using four jack stands for the Miata. While this worked it wasn't the safest so he ordered the smaller 3500SLX set which connects into his existing pump. His purchase experience is a whole other story. Our first step was to get these unpacked, the air bled out of the hydraulics, and connected up to the pump.
With the wheels off the first step was to take a reference measurement of both sides so that we could get the alignment as close as possible to the original. My father-in-law worked at a Sears automotive repair when he was younger so I'm not sure if this was part of his official training or just because he's super smart but it paid off at the end.
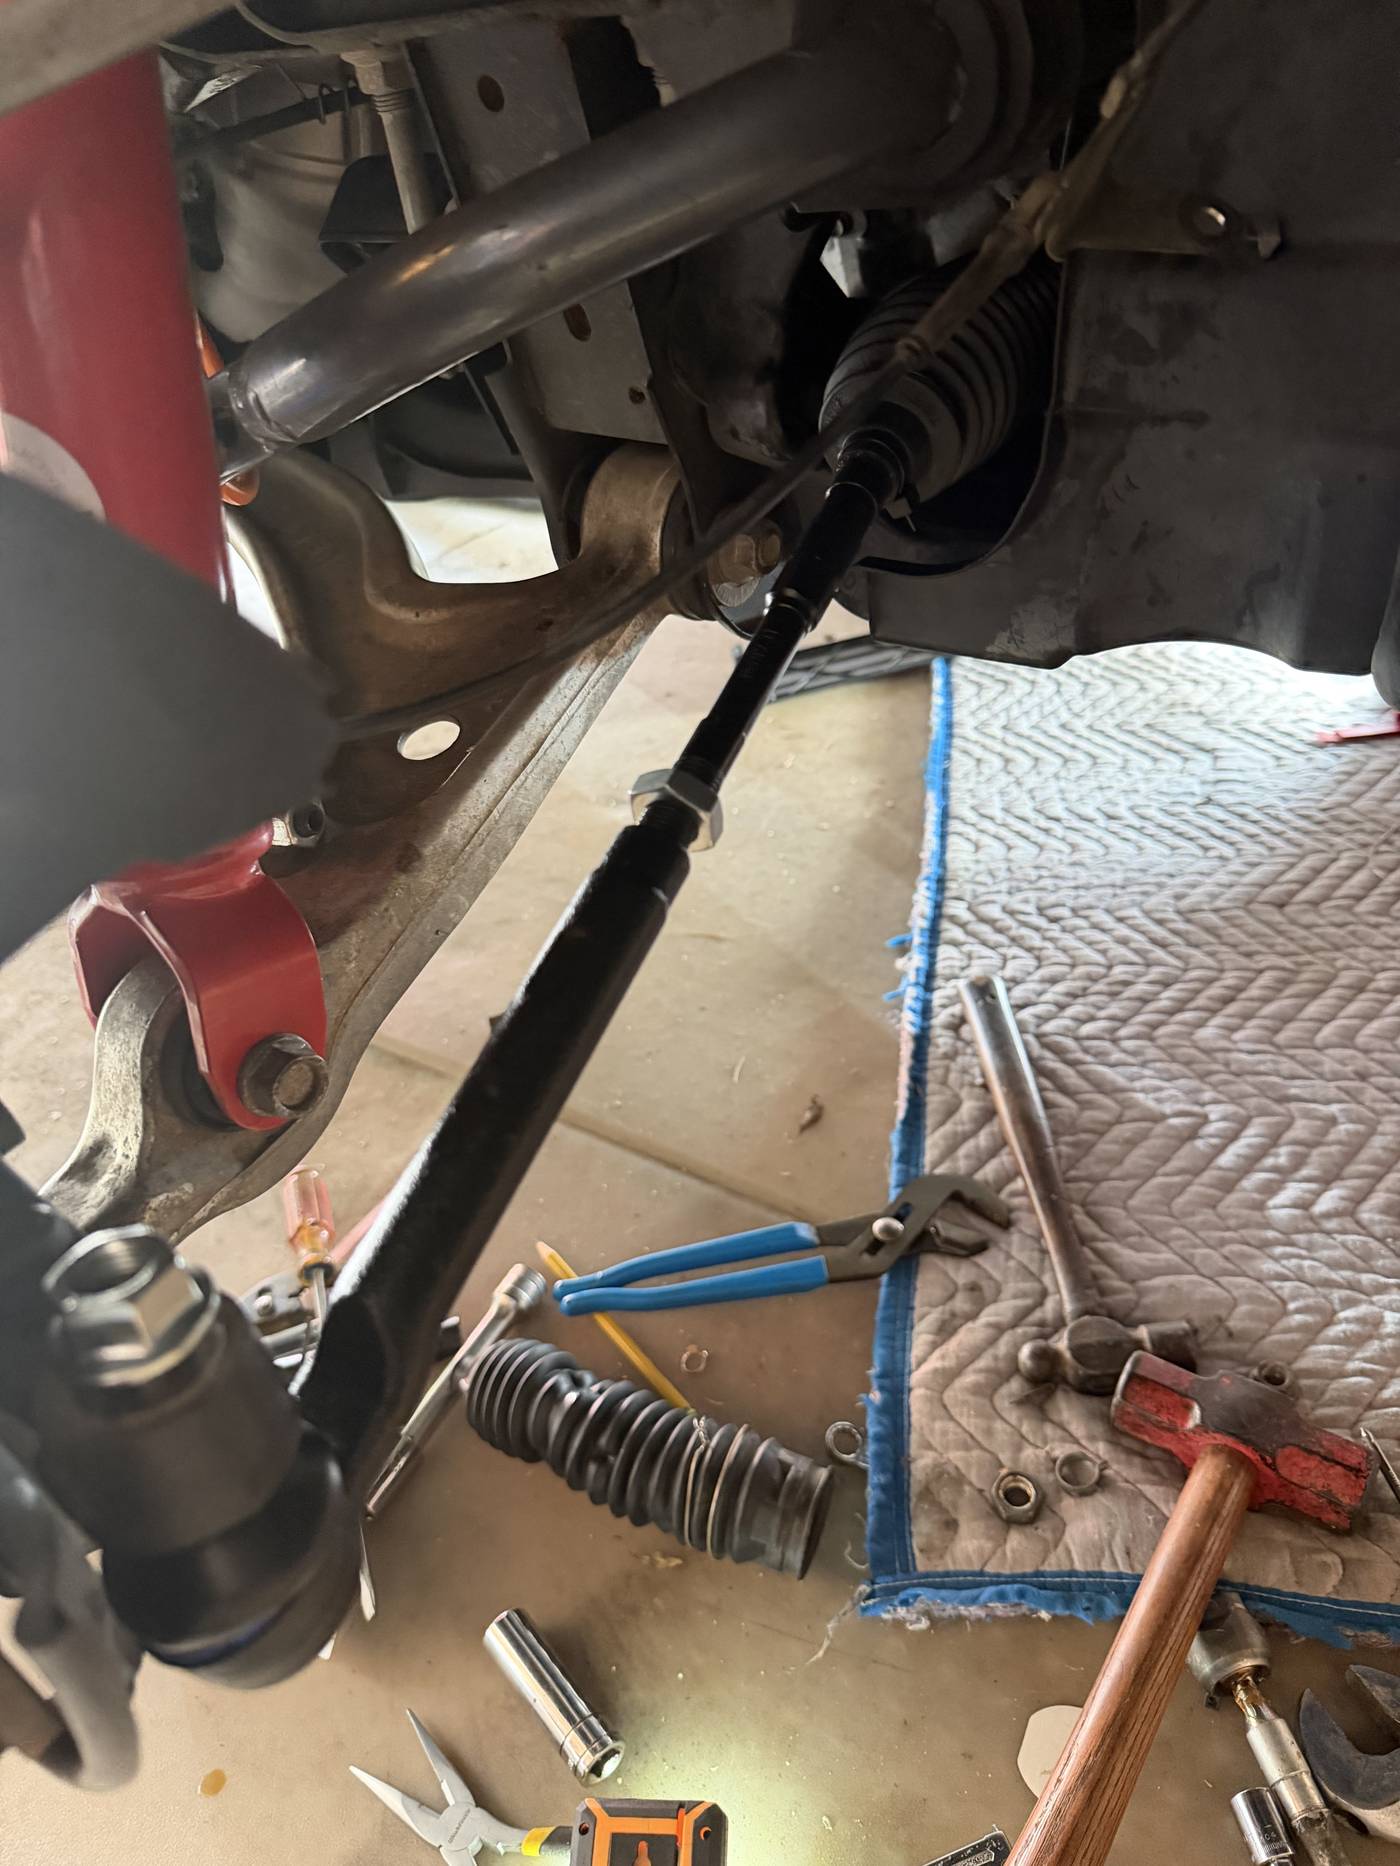
We then moved on to disassembly. He took the driver's side and I took the passenger side. This was pretty straightforward having watched several videos on the topic. First up was removing the cotter pin from the outer tie rod castle nut, removing the castle nut itself, and then removing the tie rod from the steering knuckle. We then removed the outer tie rod from the inner tie rod (remembering to count the turns) and then removed the jam nut from the inner tie rod. Next up, the boot. These are held on by and retaining clip on the small end and twisted wire on the big end.
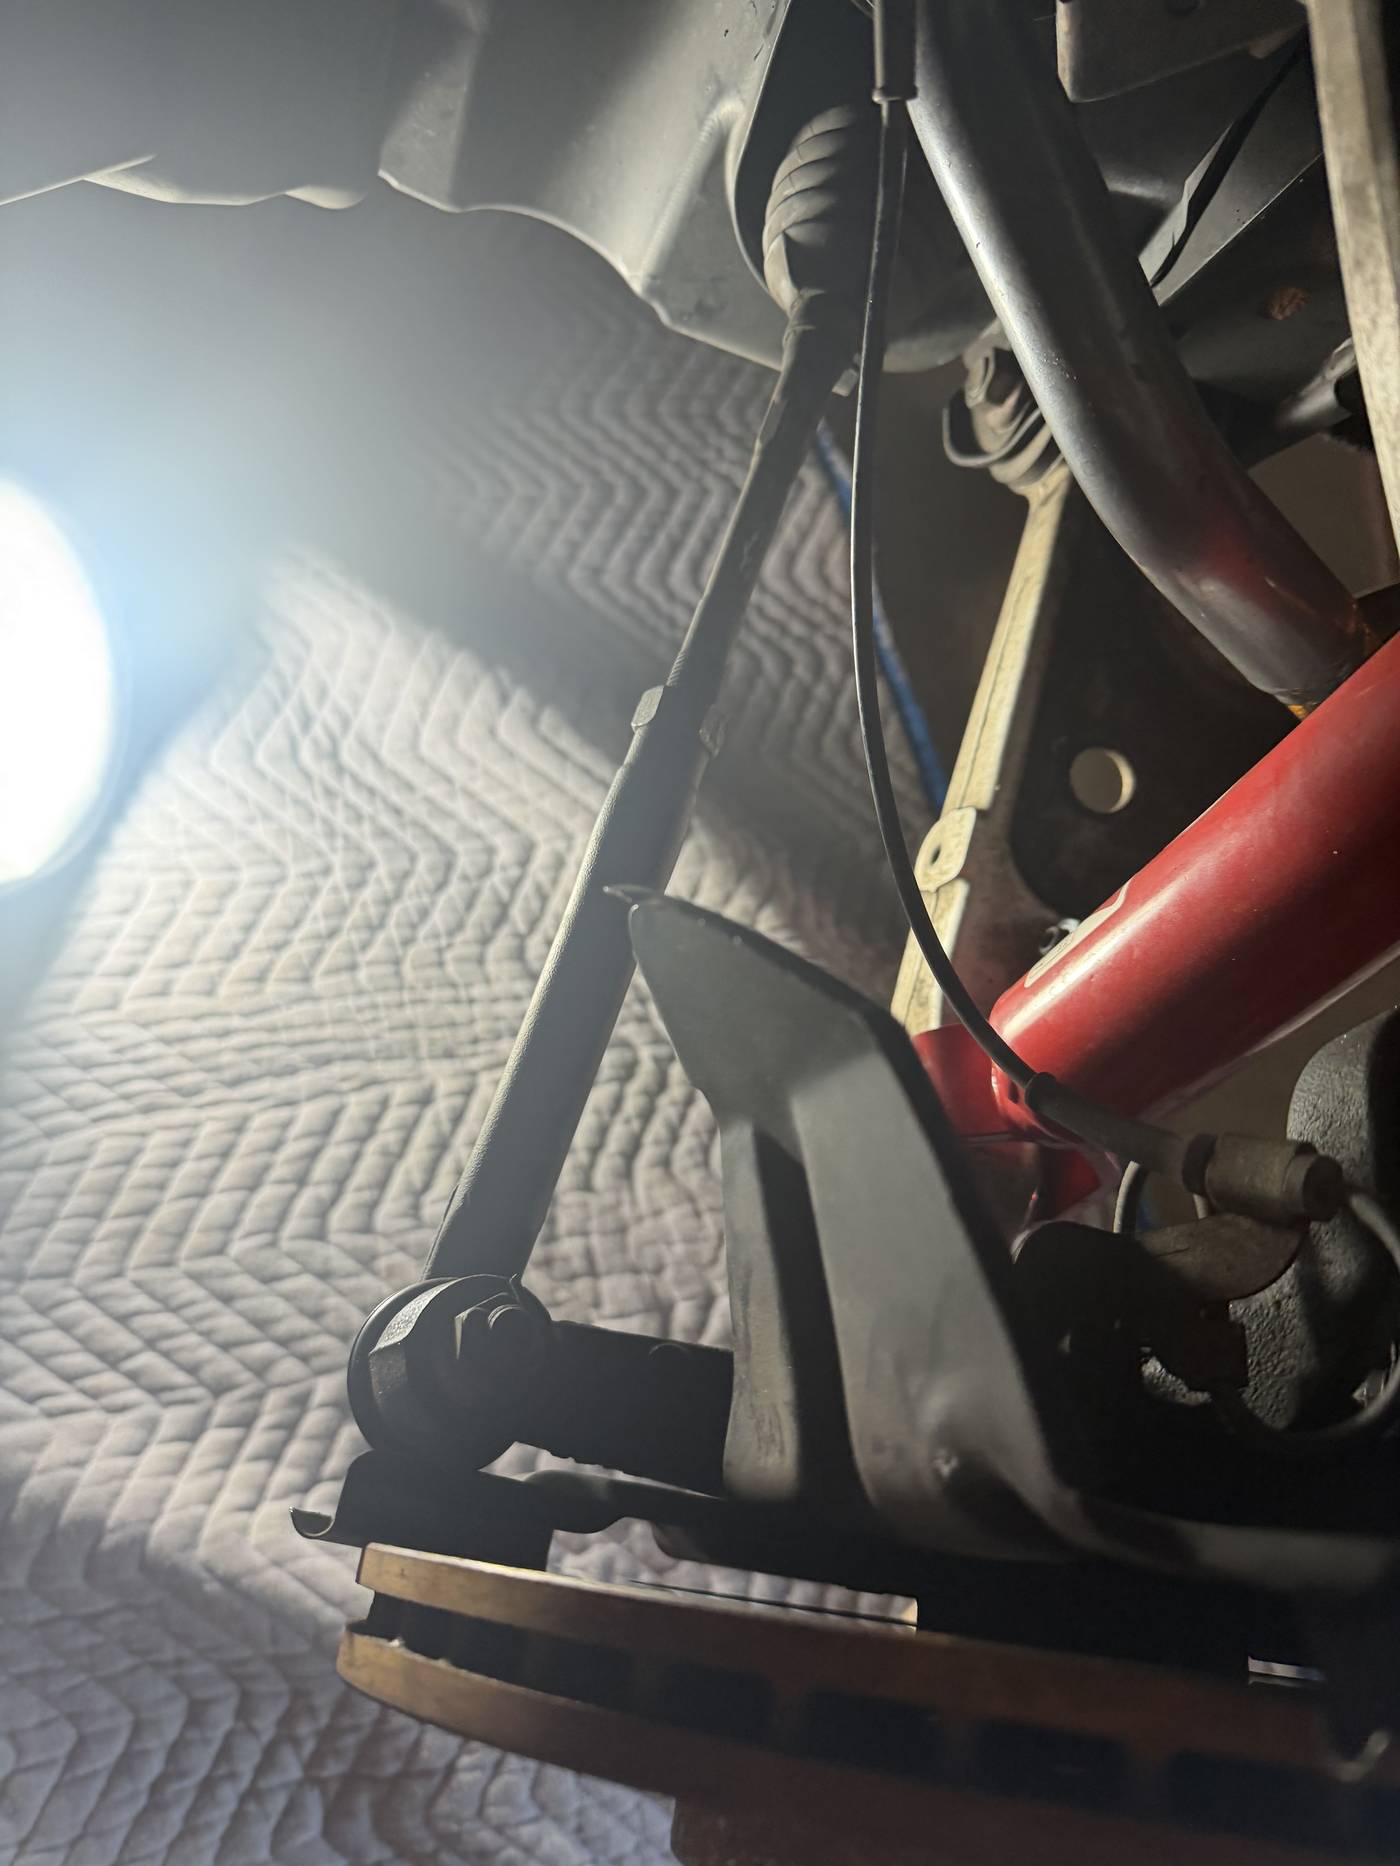
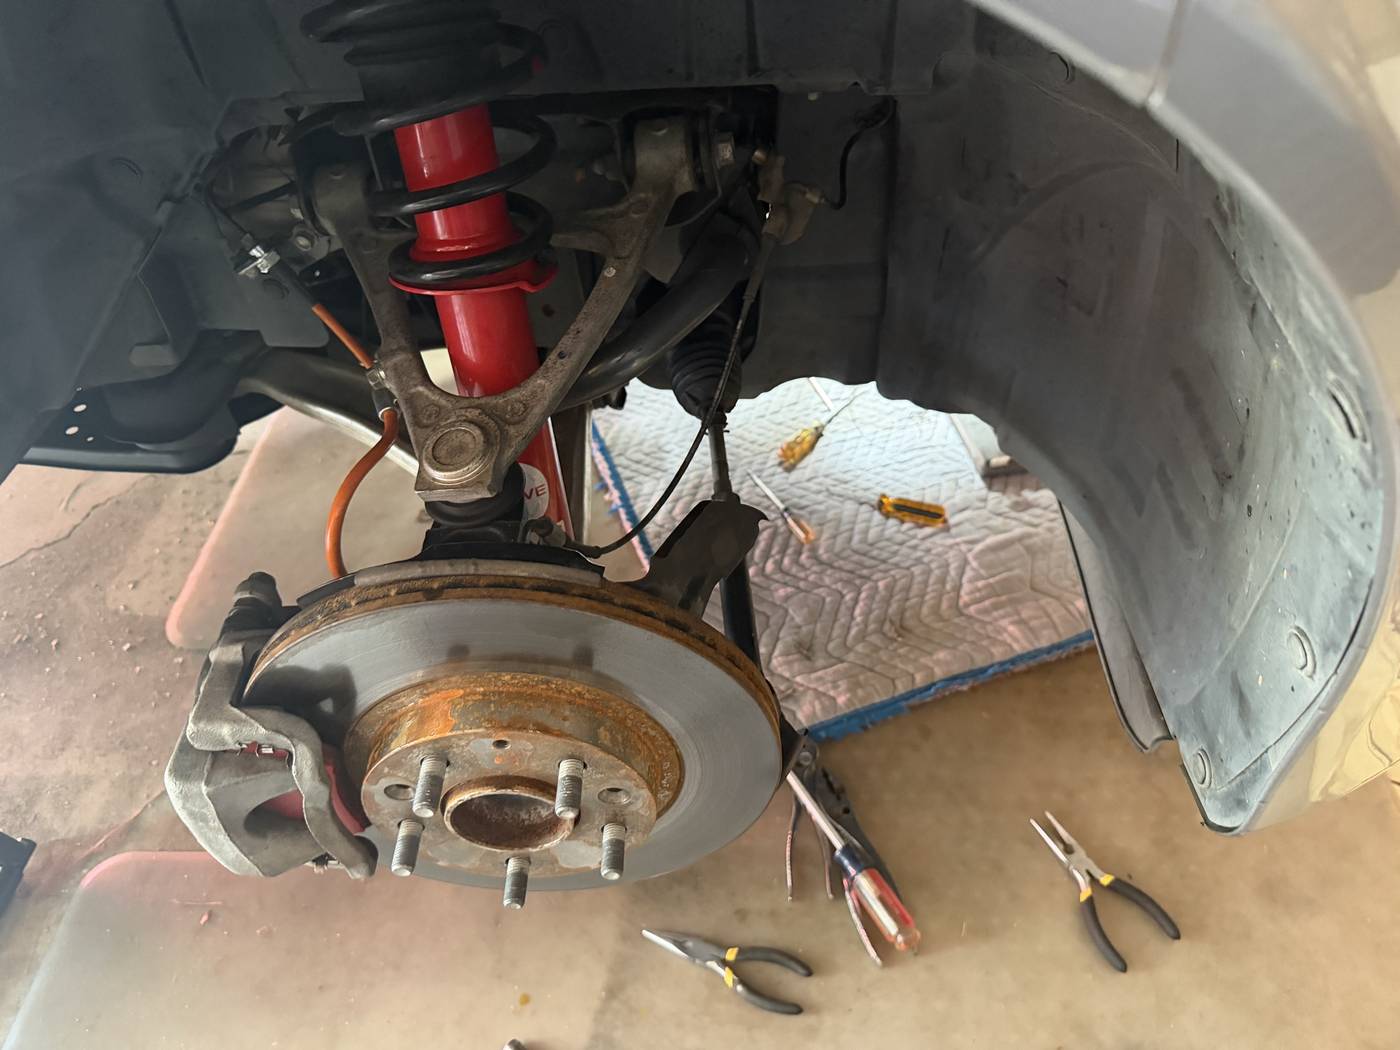
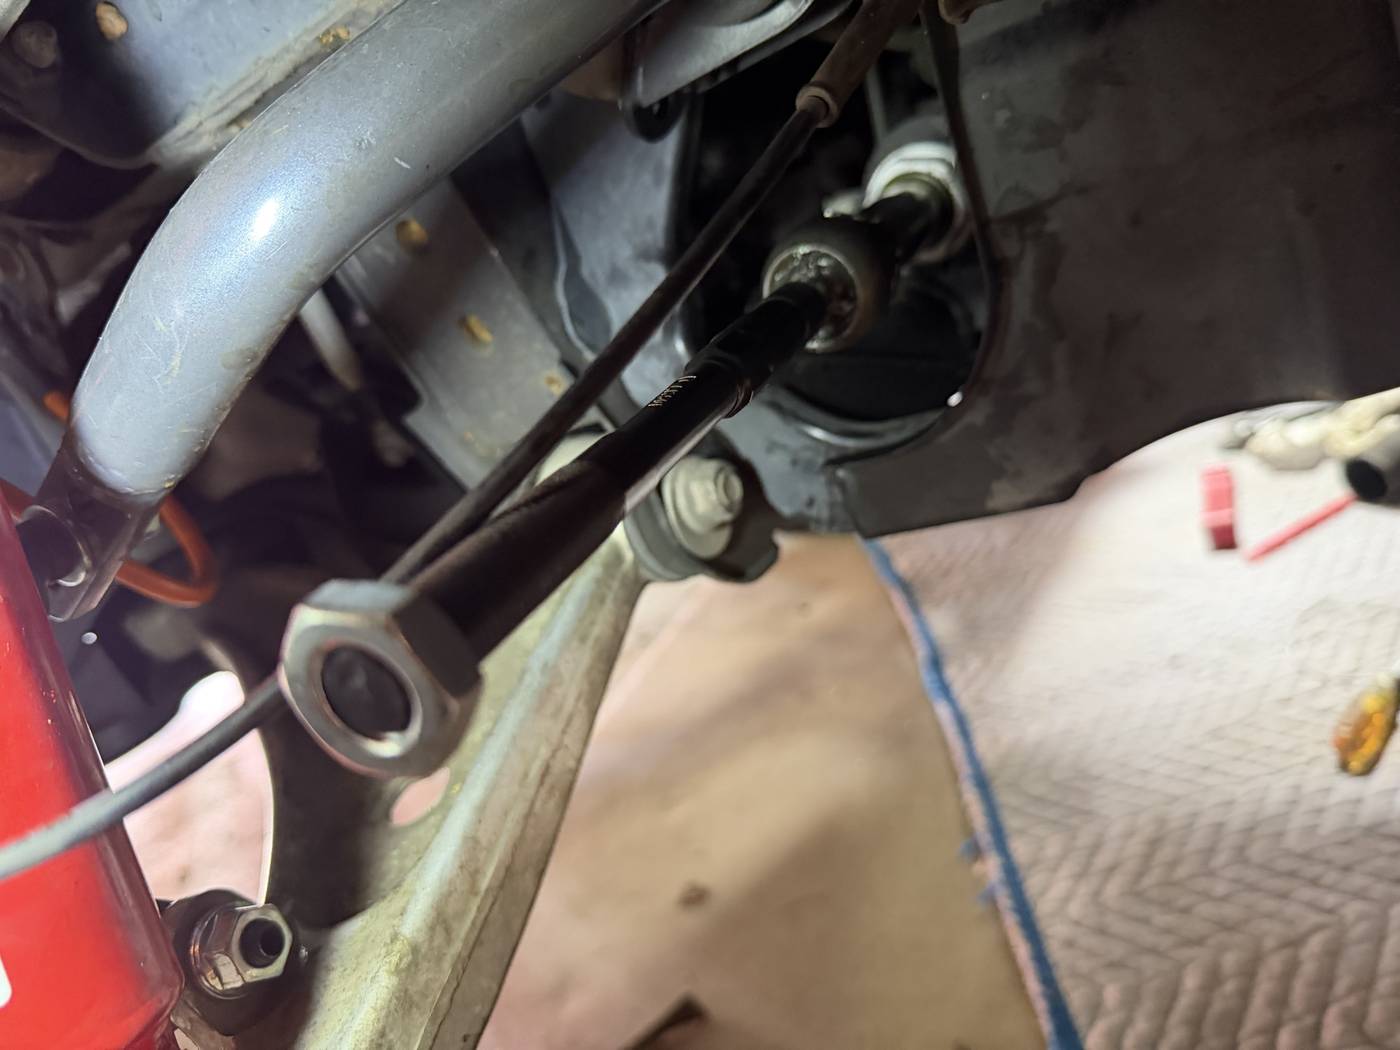
Removing the inner tie rod was a little more involved. The first thing to deal with was the locking "washer". I put this in quotes because it's not a lock washer in the traditional sense. Mazda calls it a "holder washer". It's got two inner tabs that hold the washer to the main assembly and then it's got 4 outer tabs that bend over the flat spots on the inner tie rod which keeps it from backing out.
Next the four outer tabs must be knocked away from the old inner tie rod so that it can be removed with the tool. With this done we're ready to install the new parts.
Installation of the new parts is the reverse. Thread the new inner tie rod to the main assembly and knock down the four tabs onto the flat spots on the tie rod. You may not be able to knock all four down. I used a pair of Channel Locks to bend the ones that I couldn't hit with a hammer.
Next was to remove the jam nut to install the new plastic boot. Put a little grease on either end to help get it into place. These ultimate came loose on the engine side using the supplied zip ties so we used a worm clamp instead. I used a zip tie on the small side but he was smarter and reused the original clamp.
Spin the new jam nut on and then it's time to install the new outer tie rod. Did you write down the number of turns it took to remove the original because this is where it matters. Spin the outer tie rod on the right number ot turns and you're ready to attach the ball joint end to the steering knuckle. The Delphi outer tie rod ends don't come with a castle nut or cotter pin. They used a tapered bolt with locking nut. The key here is to have the bolt all the way into the steering knuckle because this is what prevents the bolt from spinning when tightening the nut. At first this caused us an issue but my father-in-law had the bright idea to use the original nut to draw the bolt all the way into the knuckle. This cause the bolt to lock into place so we could torque down the new locking nut. The last steps were to torgue down the jam nut, get the wheels back on, and lower the car. I'm taking it in for another alignment tomorrow to confirm everything.
Here's the biggest tip of all. Find yourself a good partner to work with. We had fun, told great stories, and had a few laughs all while learning something along the way. This alone will make any job go smoother.